


VMware ESXi - Install, setup driver Realtek RTL8111/8168/8411
Mau paham tentang VMware ESXi - Install, setup driver Realtek RTL8111/8168/8411, hanya disiniaja
VMware ESXi - Install, setup driver Realtek RTL8111/8168/8411
Disclaimer: For educational purposes only.
Hardware Requirements:
1. Motherboard with onboard gigabit ethernet Intel chipset
For Refere on another post; https://disiniaja.id/cheap-but-reliable-servers-for-making-money
1. Download VMware-VMvisor-Installer-6.0.0.update03-5050593.x86_64.iso in here http://dd.bigserwis.pl/vm/6.0/VMware-VMvisor-Installer-6.0.0.update03-5050593.x86_64.iso
Or
OR
2. Flashdisk greater 1GB
3. Download Rufus from https://rufus.ie/en/
How to get started
1. Creating bootable USB using Rufus
a) Insert your USB to current PC Windows
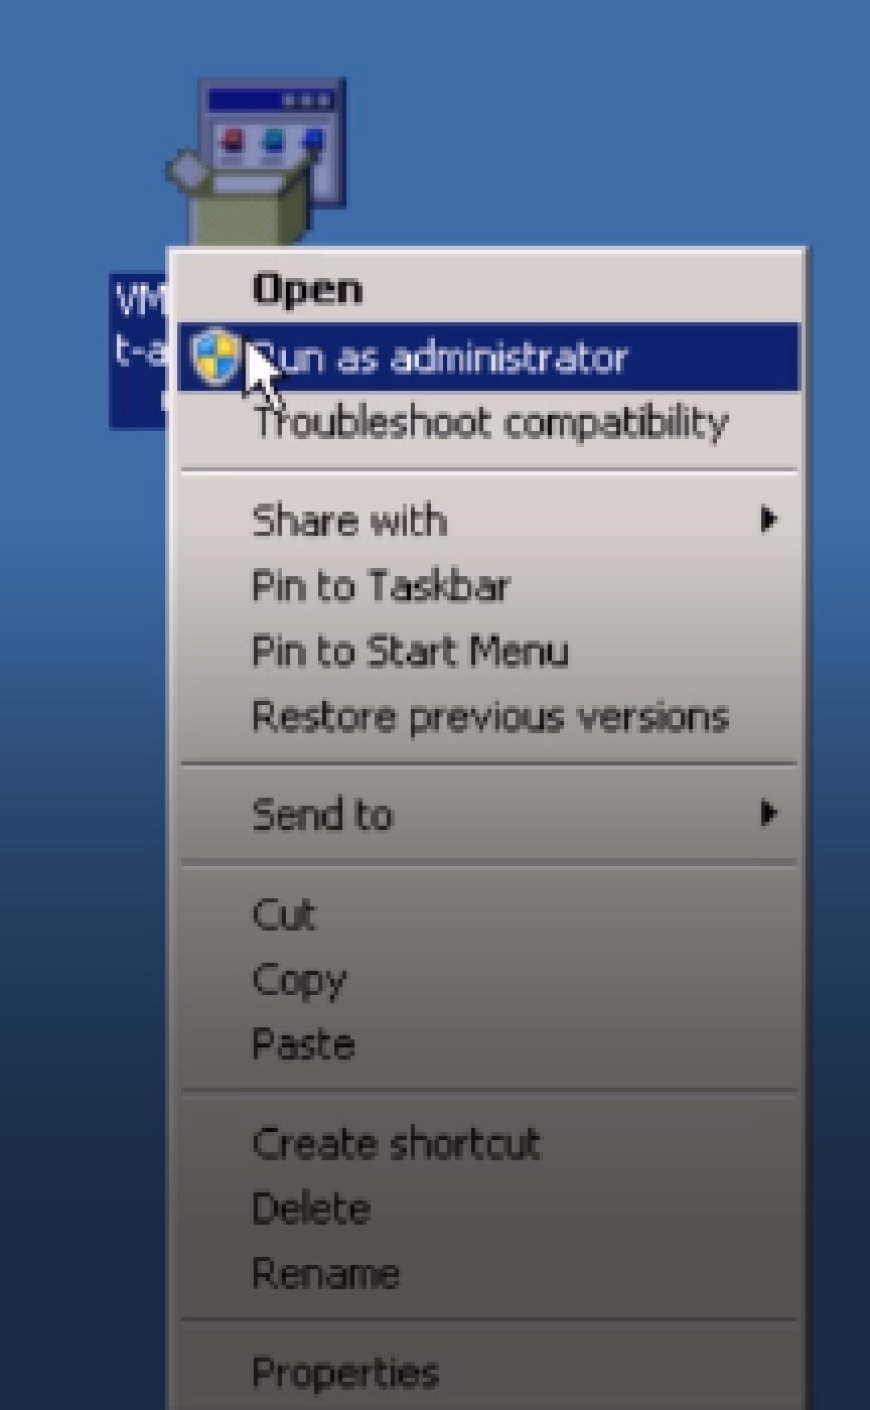
b) Open Rufus by Run As Administrator
c) Click select and select an ISO file VMware-VMvisor-Installer-6.0.0.update03-5050593.x86_64.iso
d) If motherboard support UEFI then select Target system UEFI (non CSM)
e) Click START
2. Insert USB Flashdisk AND Setup PC BIOS to boot from Flashdisk
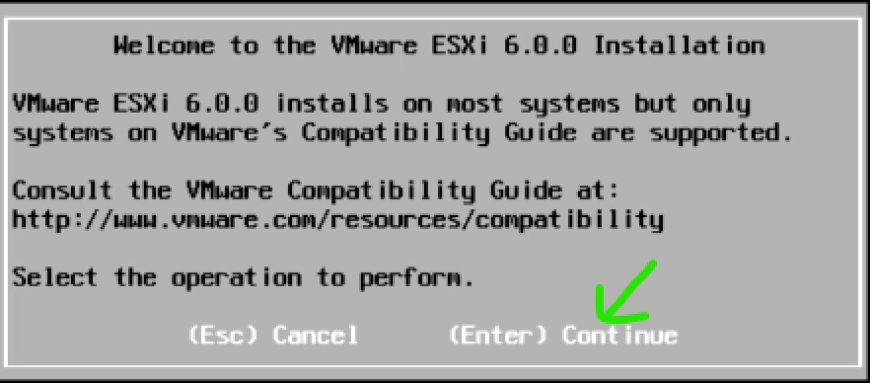
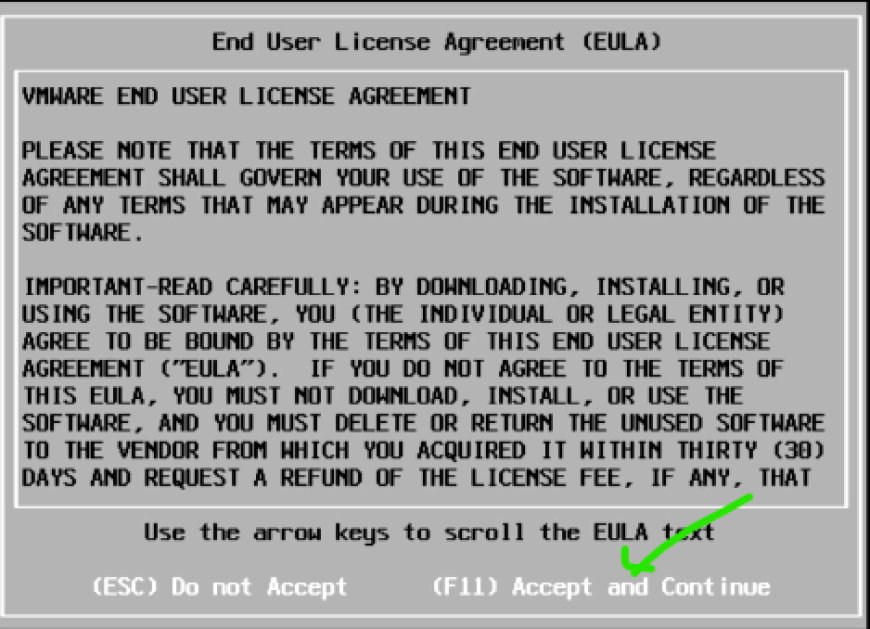
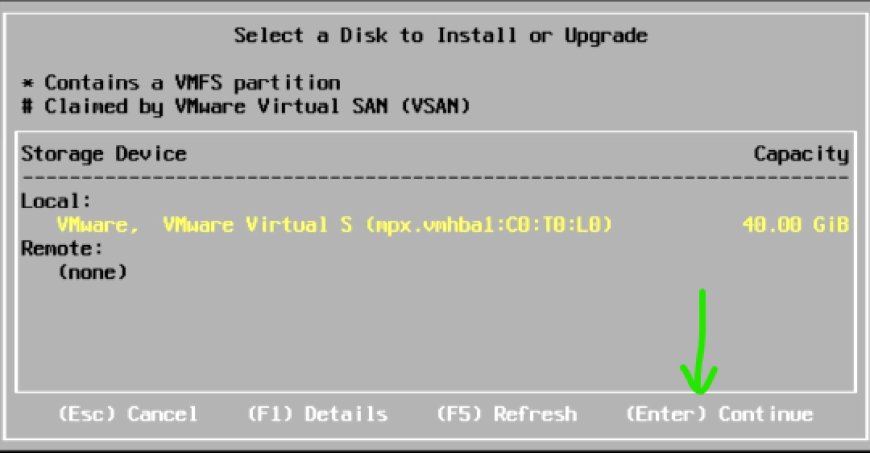
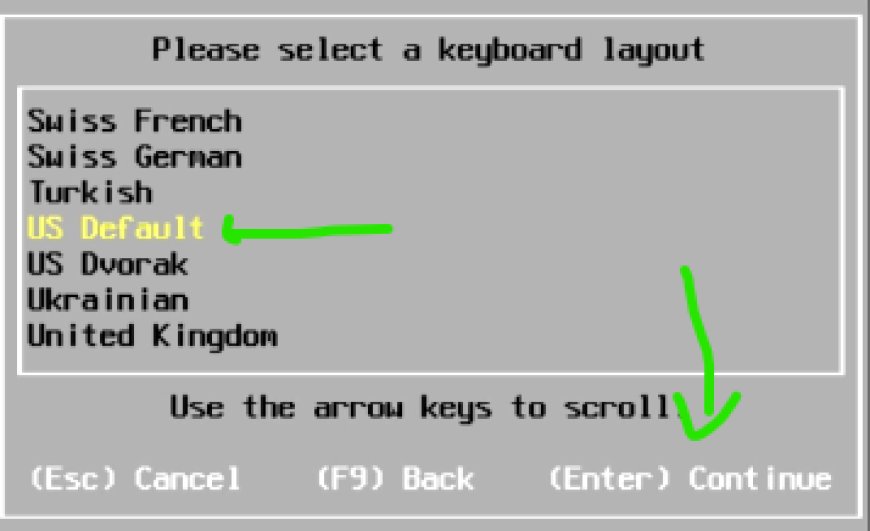
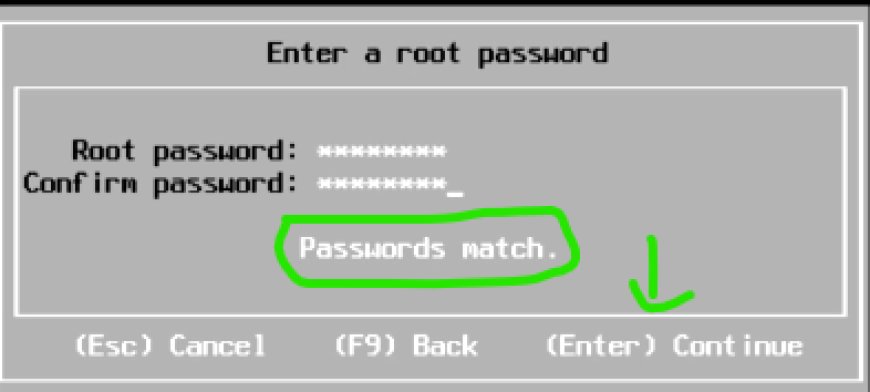
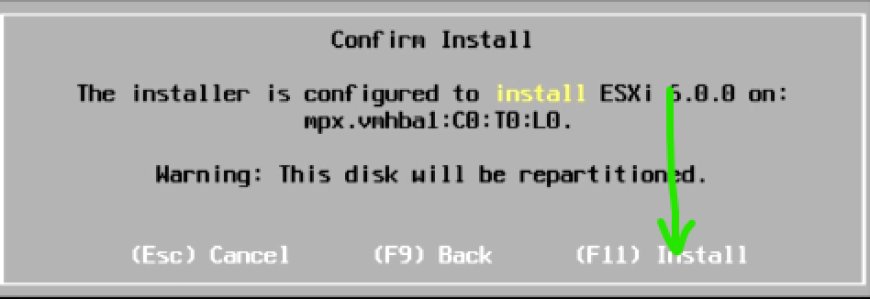
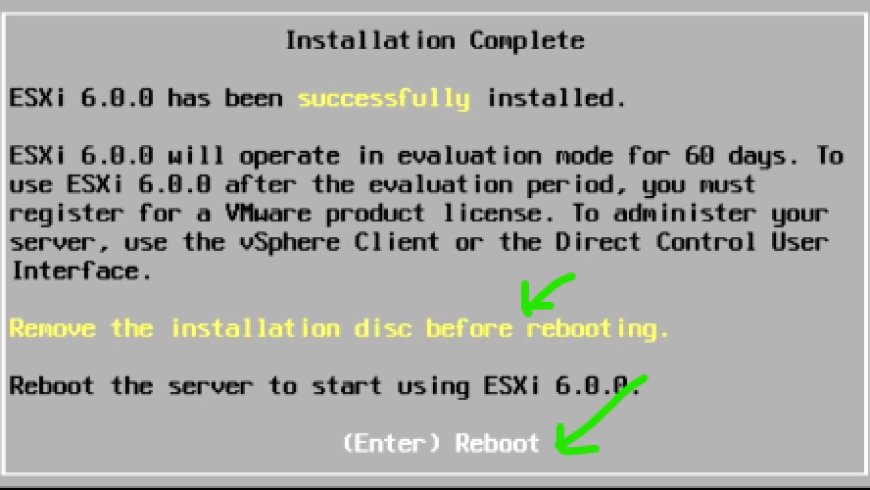
3. Process installation VMware ESXi

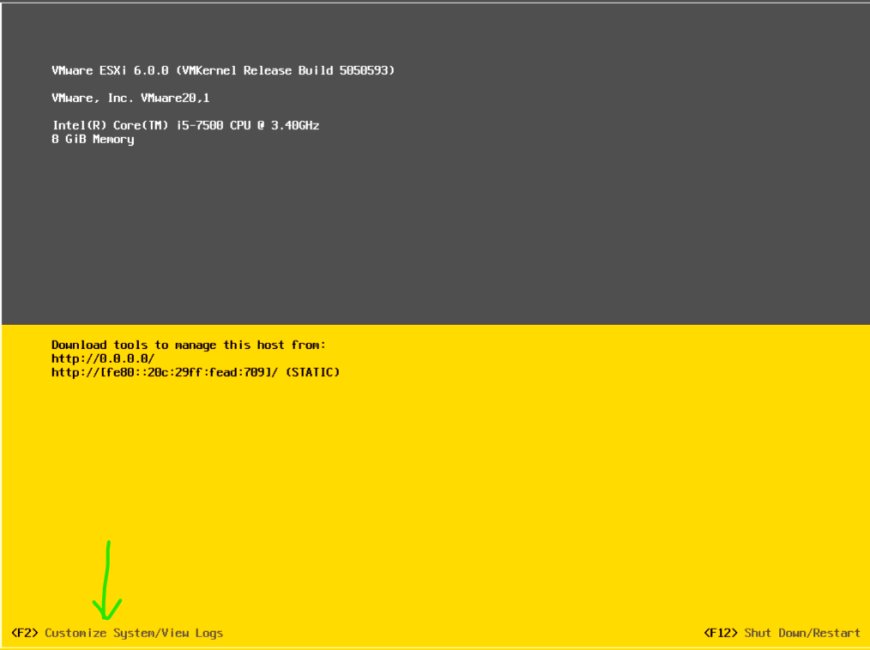
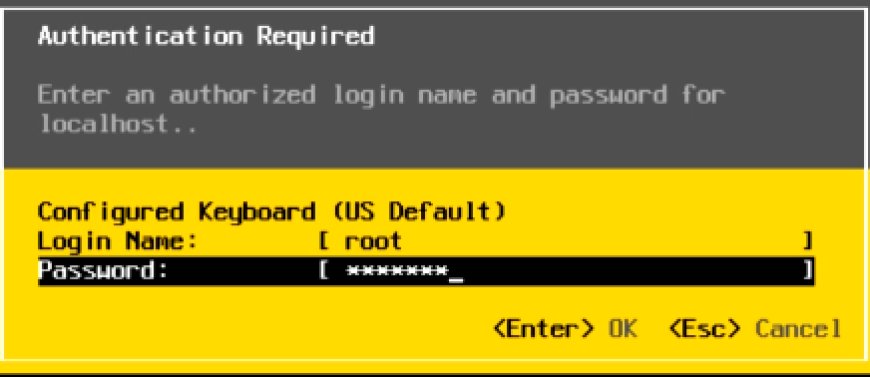
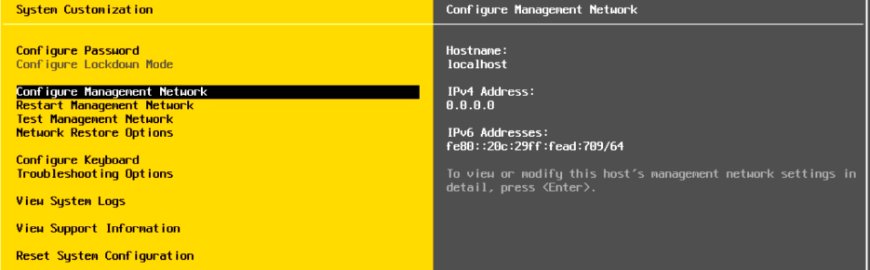
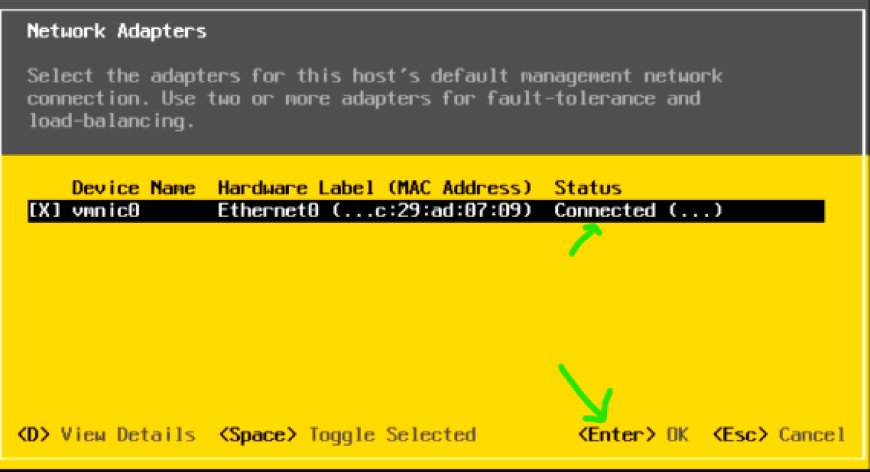
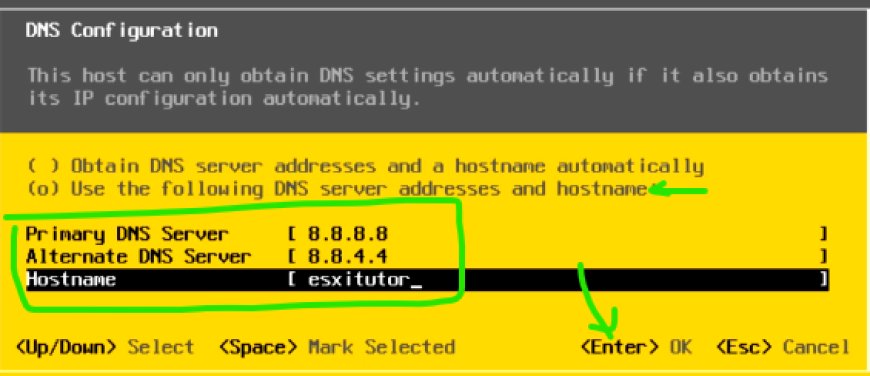
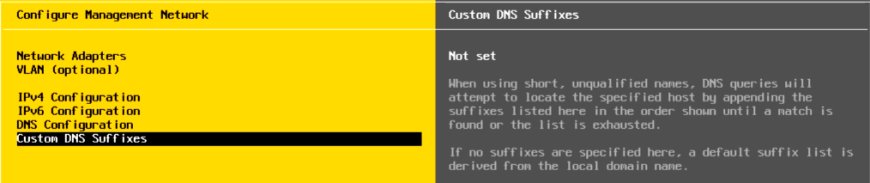
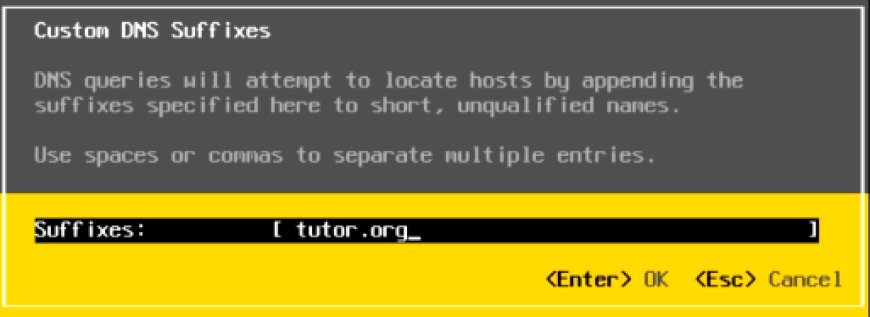
4. Setup VMware ESXi


Manage server by VMware ESXi vSphere Client Interface
Download http://dd.bigserwis.pl/vm/6.0/VMware-viclient-all-6.0.0-3249451.exe
Setting your current windows to the same network
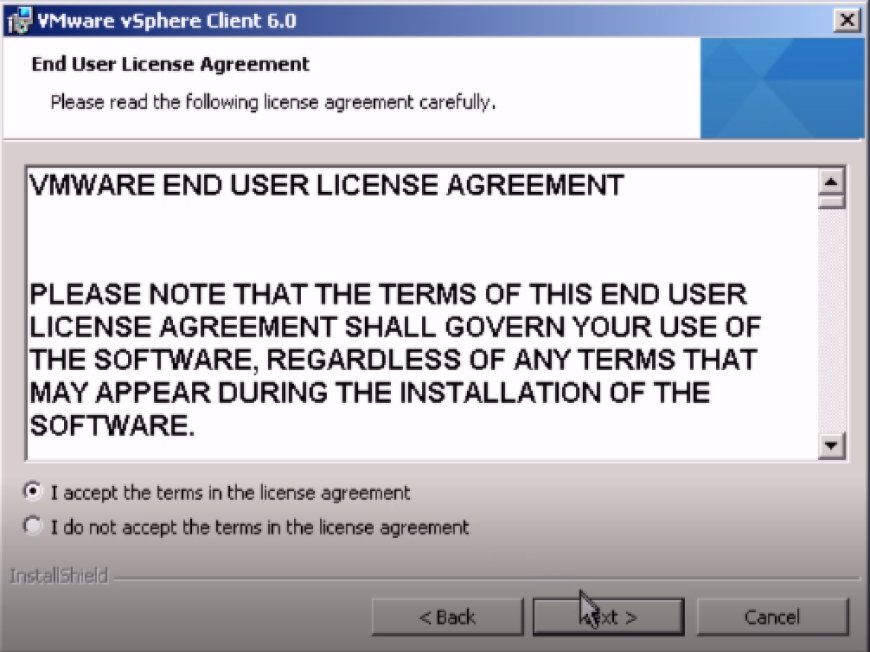
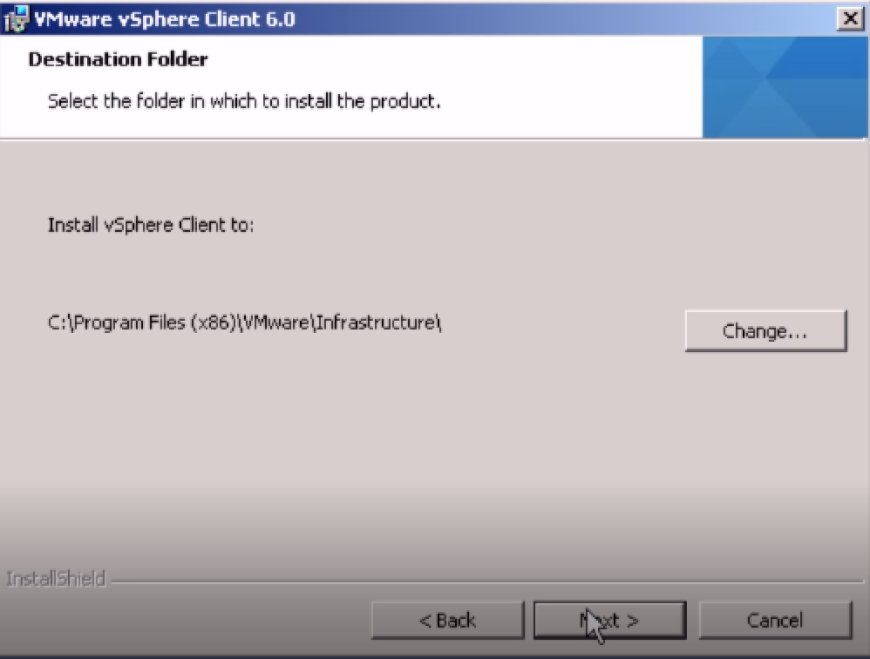
Install VMware-viclient-all-6.0.0-3249451.exe
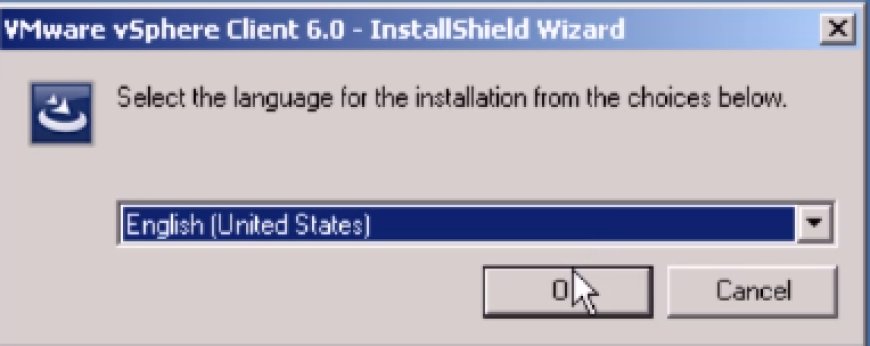
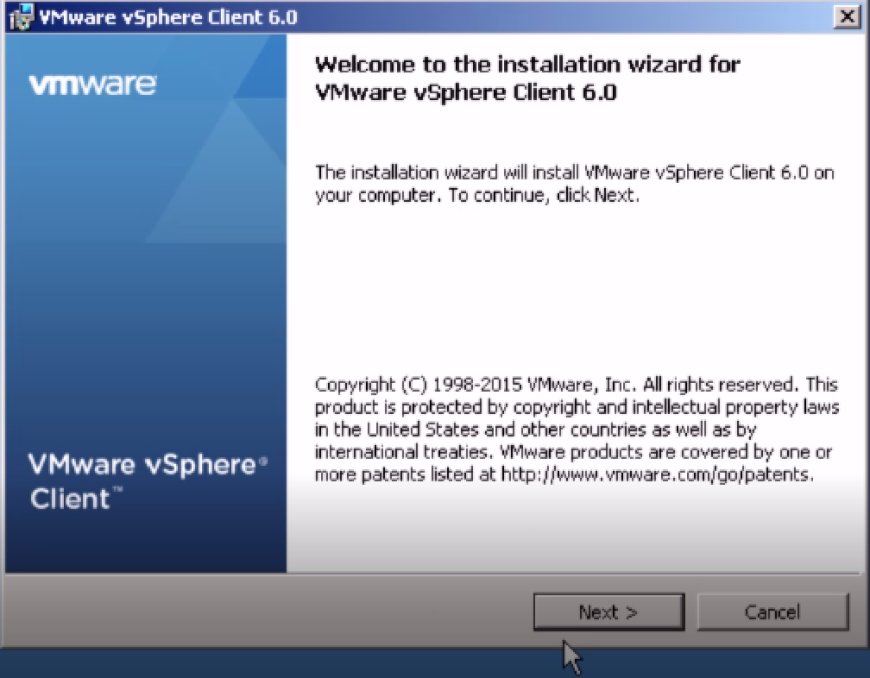
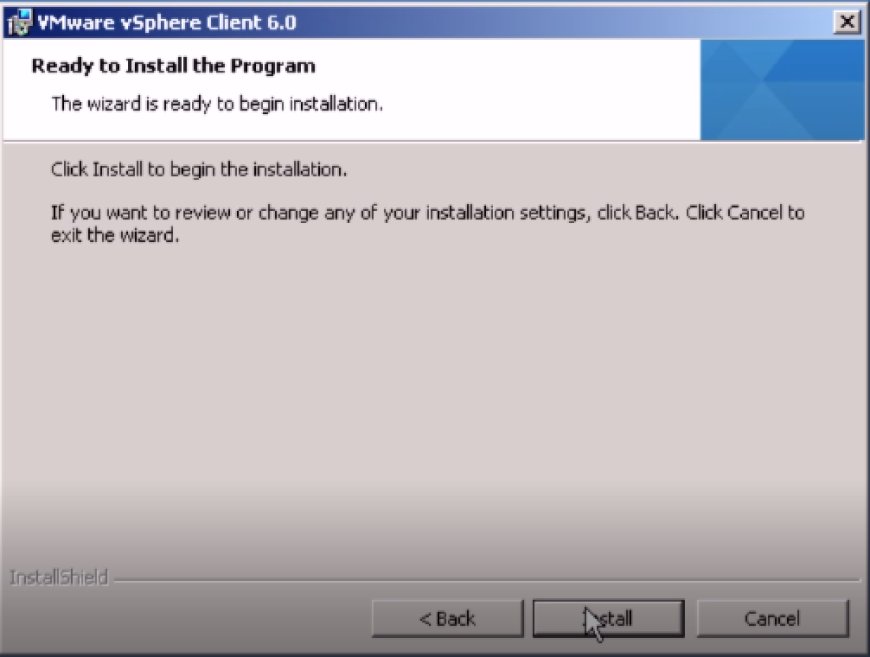
FINISHED for install vSphere Client, reboot your current windows
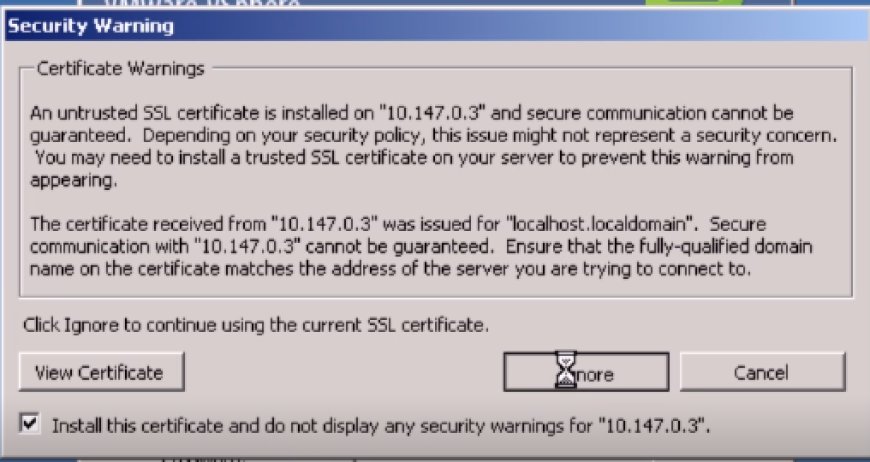
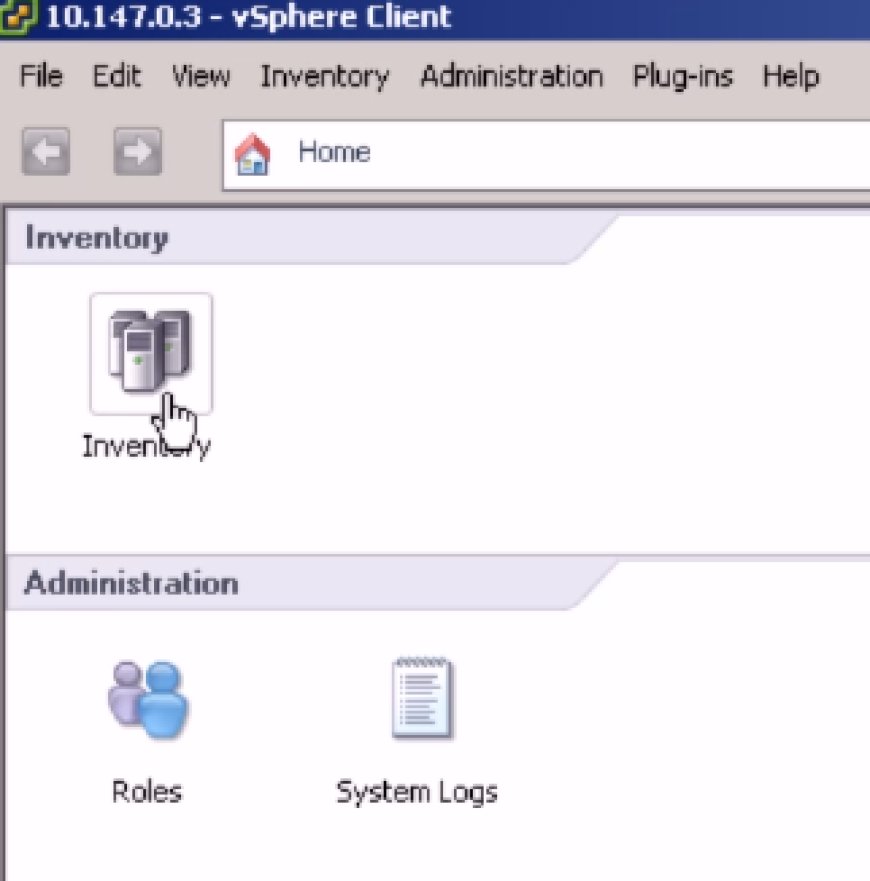
Open VMware Vspherer Client
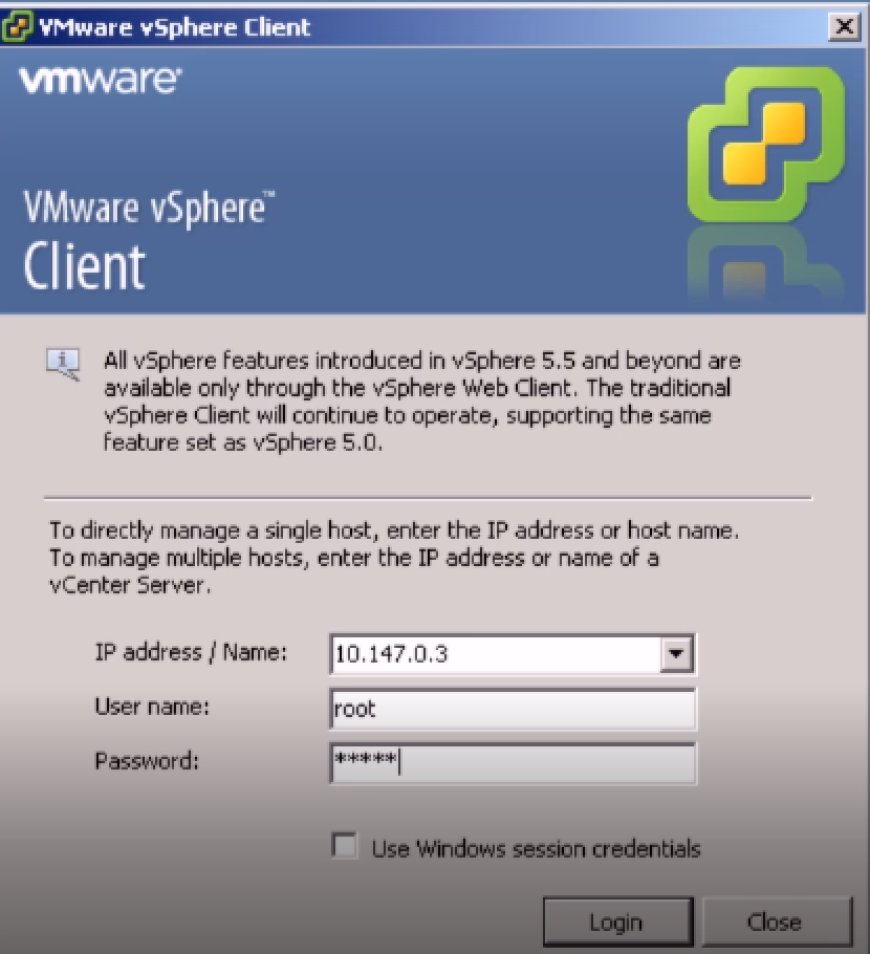
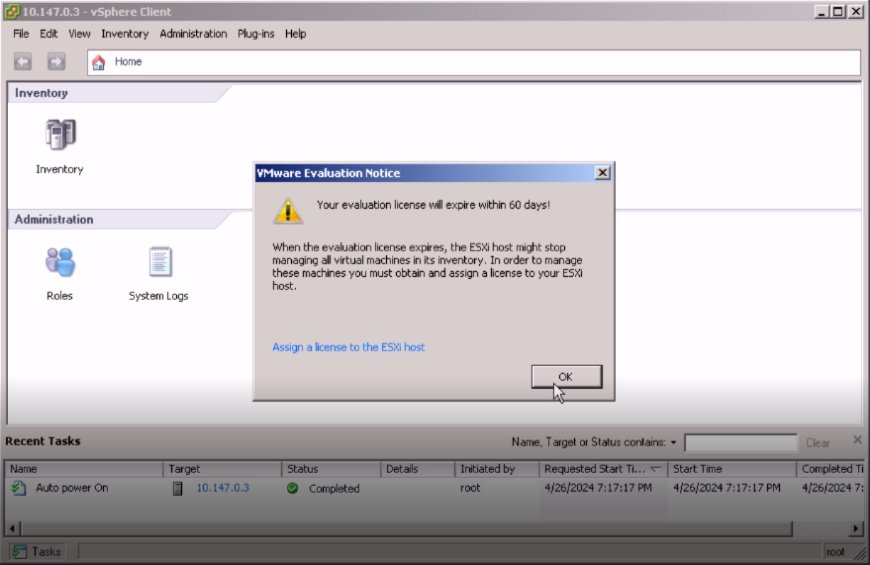

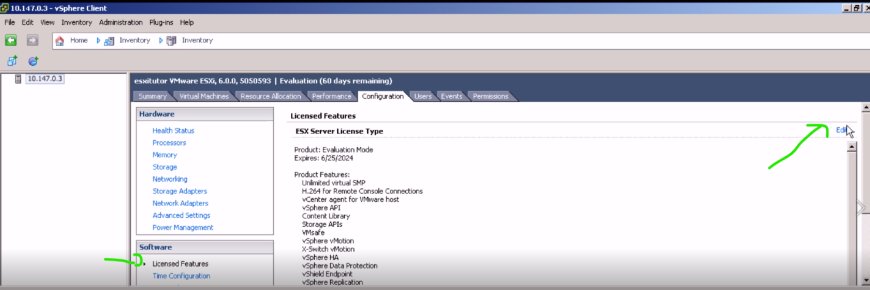
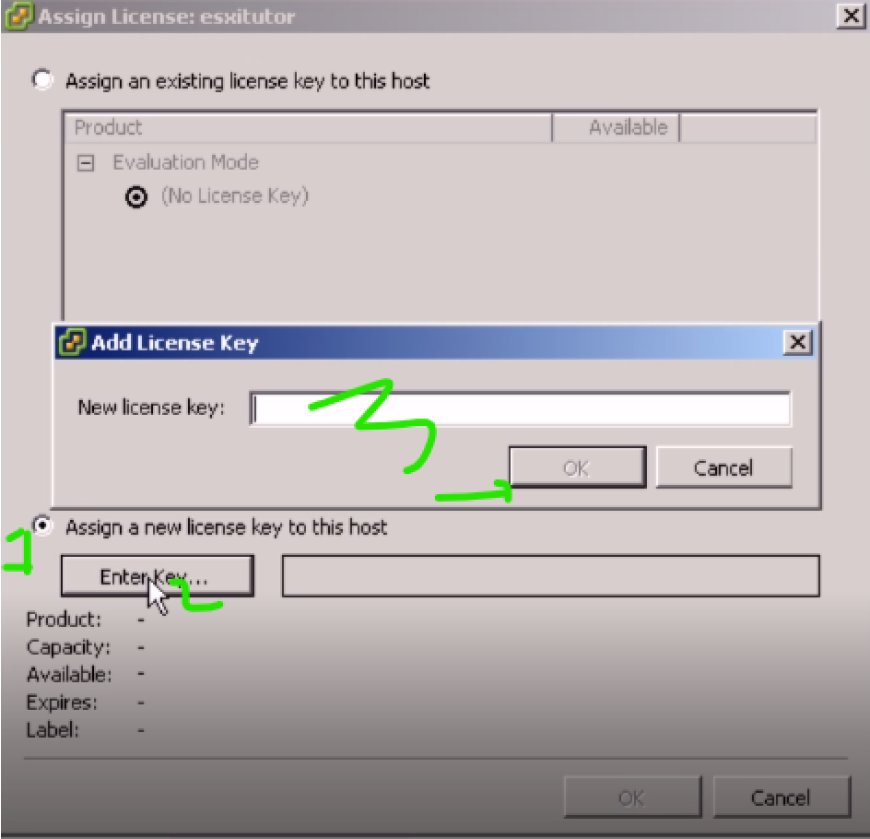
for key search on Google or https://www.digiboy.ir/3529/vmware-vsphere-6-0/
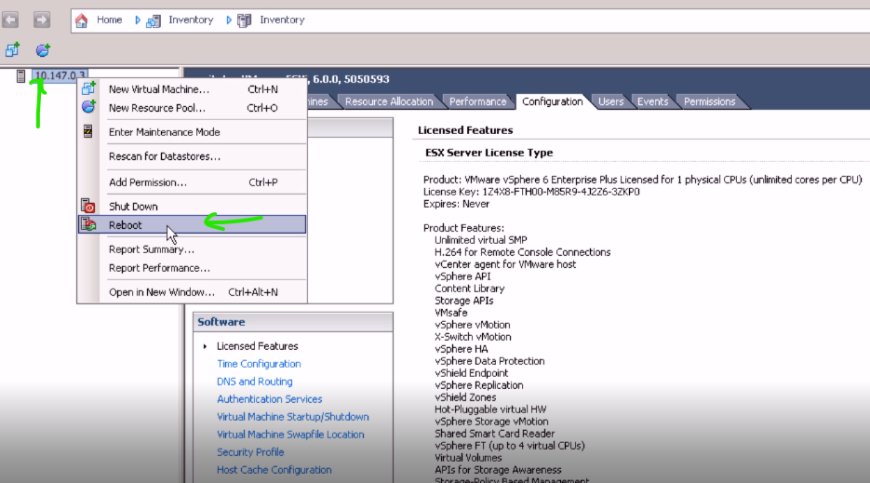
After Assign then reboot ESXi
Setup driver Realtek RTL8111/8168/8411
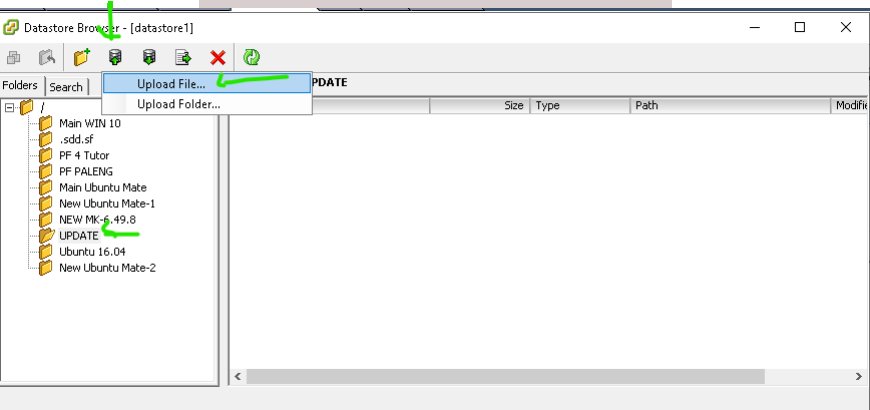
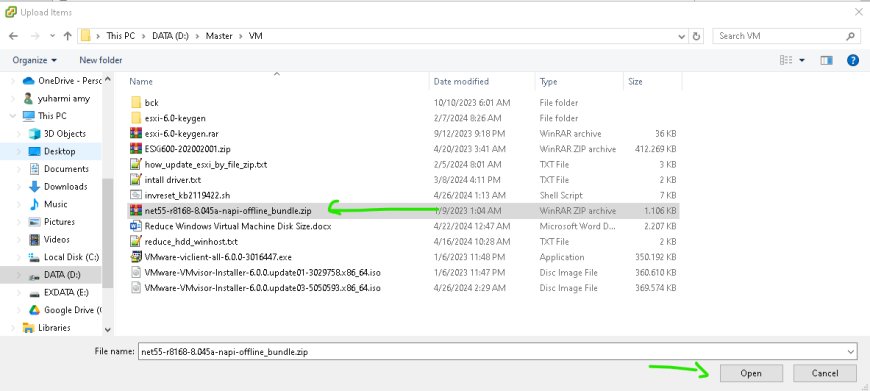
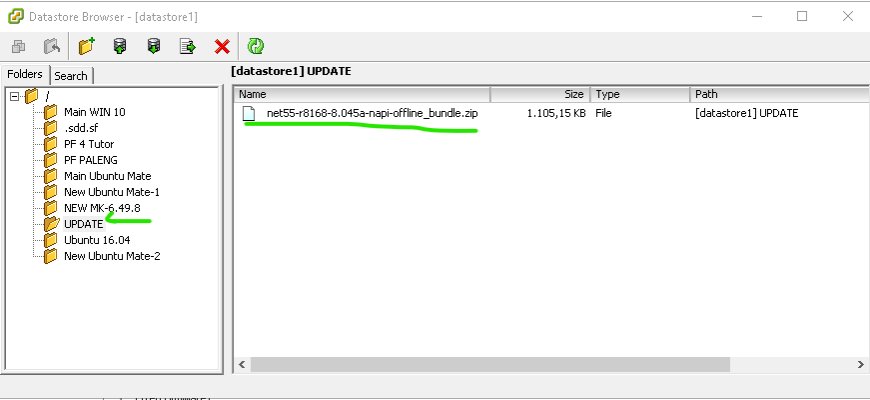
Download http://vibsdepot.v-front.de/depot/bundles/net55-r8168-8.045a-napi-offline_bundle.zip
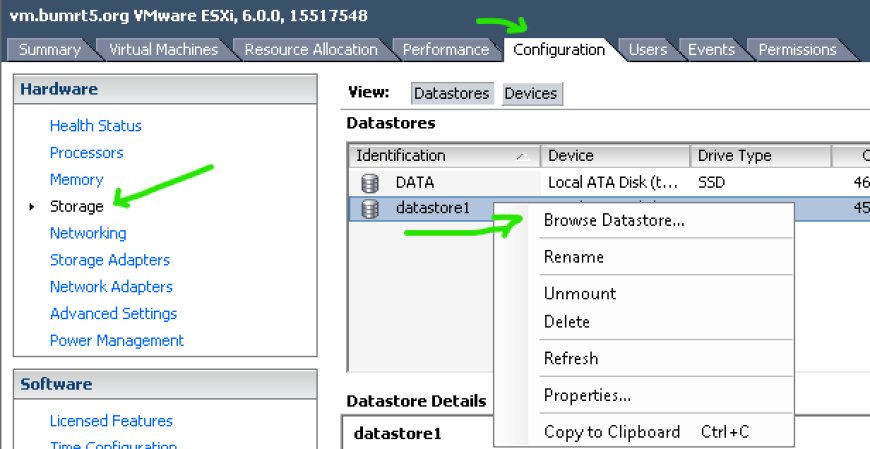
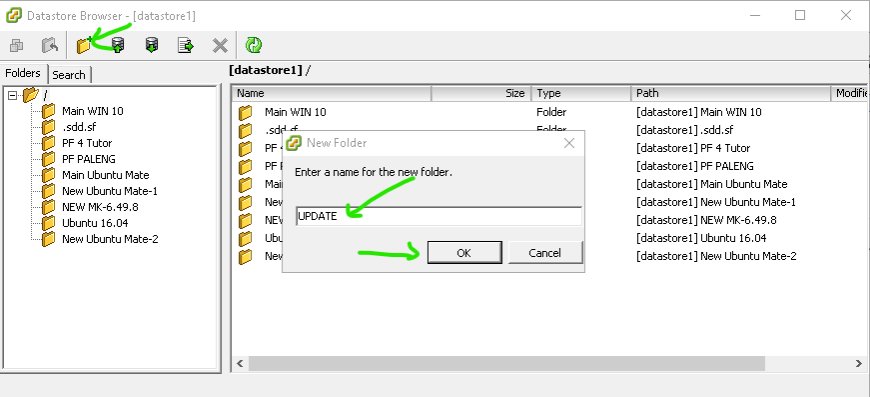
Create a directory called ‘UPDATE' on storage by vshpere and upload
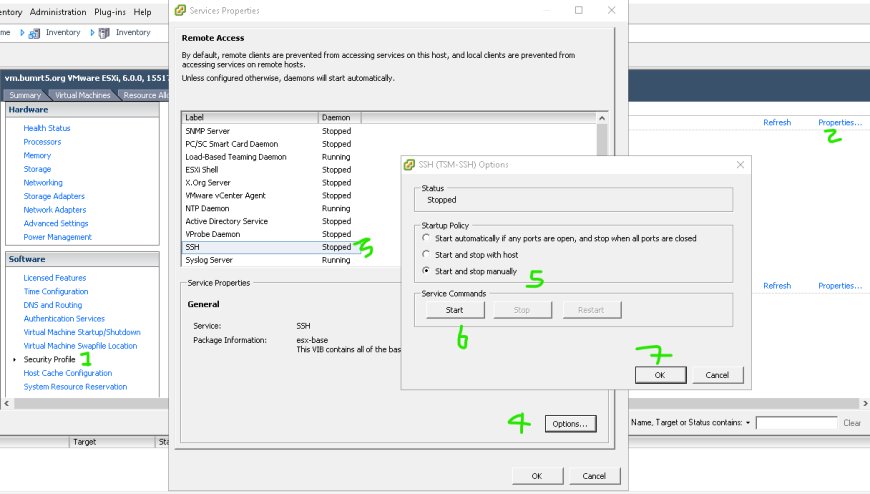
Start SSH
OPEN PUTTY
CHECK YOUR CURRENT ADAPTER
lspci -vvv

esxcli software acceptance set --level=CommunitySupported
ls -l /vmfs/volumes/
cd /vmfs/volumes/datastore1/UPDATE
Before applying the update/patches, all guest shutdown by vshpere
next the host needs to be in maintenance mode by Vsphere interface
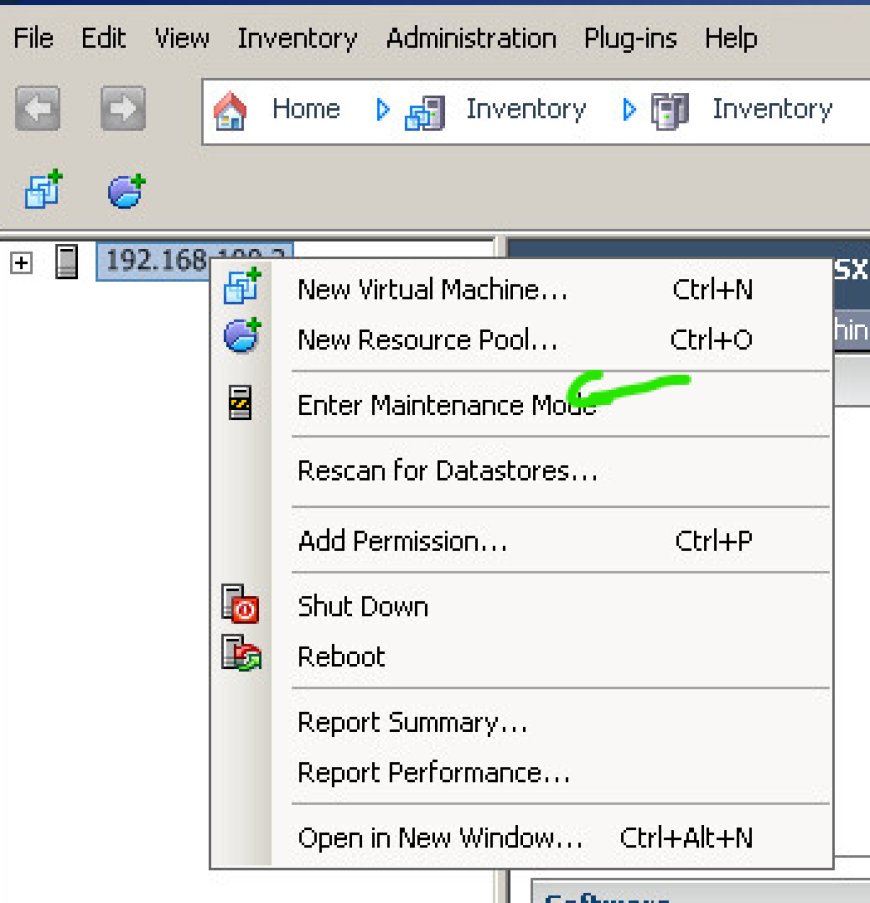
or by command
vim-cmd hostsvc/maintenance_mode_enter
esxcli software vib install -d /vmfs/volumes/datastore1/UPDATE/net55-r8168-8.045a-napi-offline_bundle.zip
if there is the word success, then reboot
reboot
then exit maintenance mode by vshpere, for reason optimal reboot again
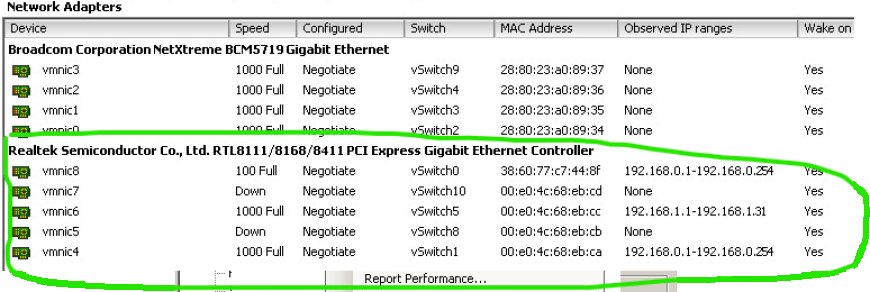
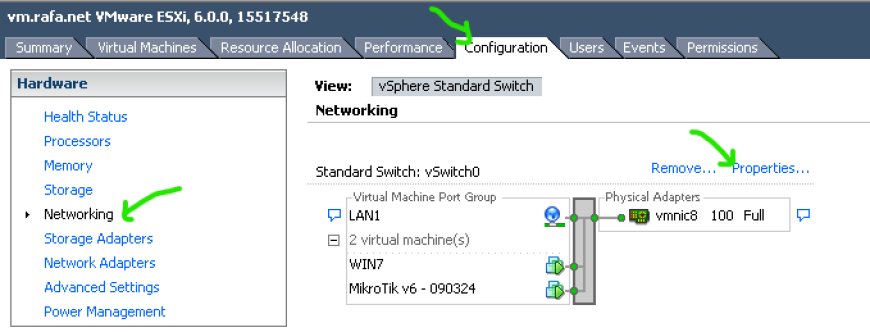
CHECK YOUR CURRENT ADAPTER on Configuration > Network Adapter
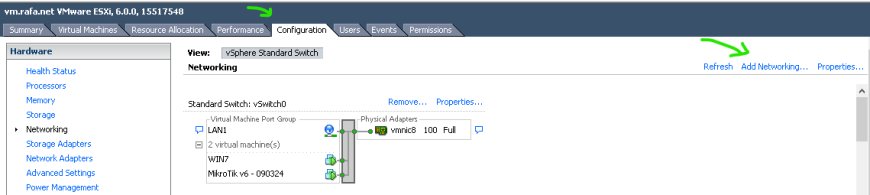
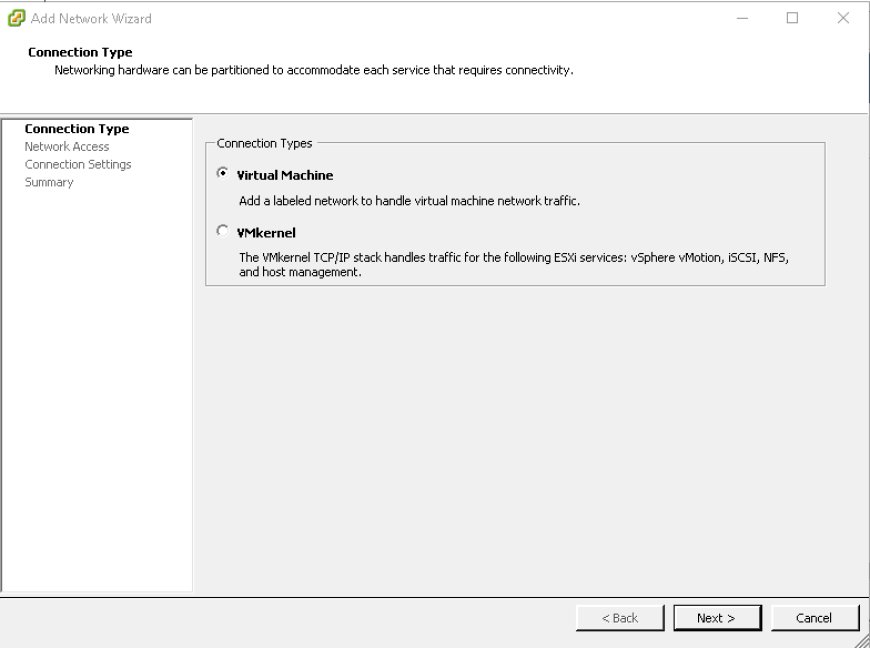
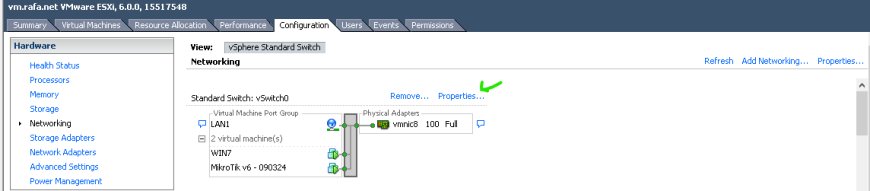
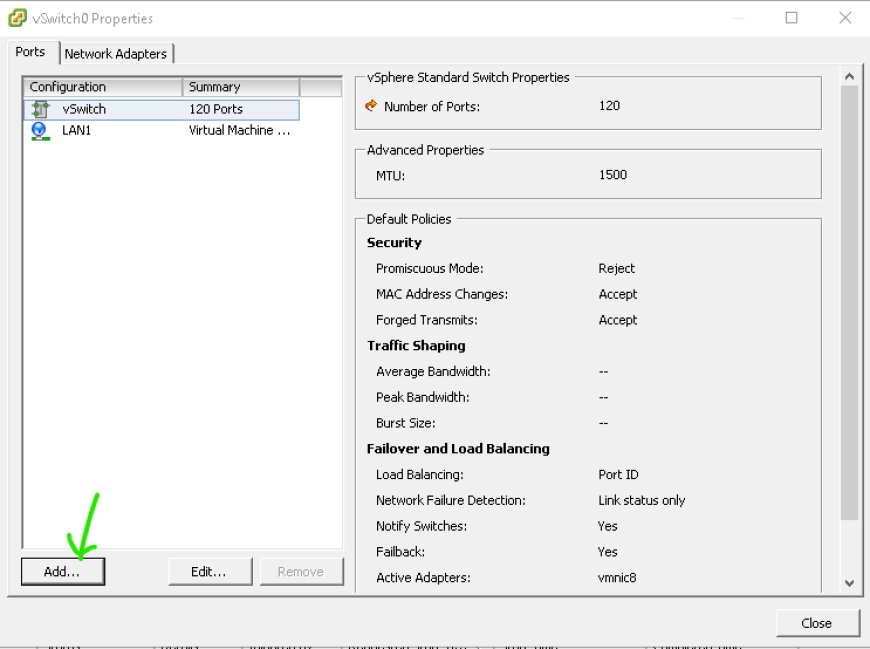
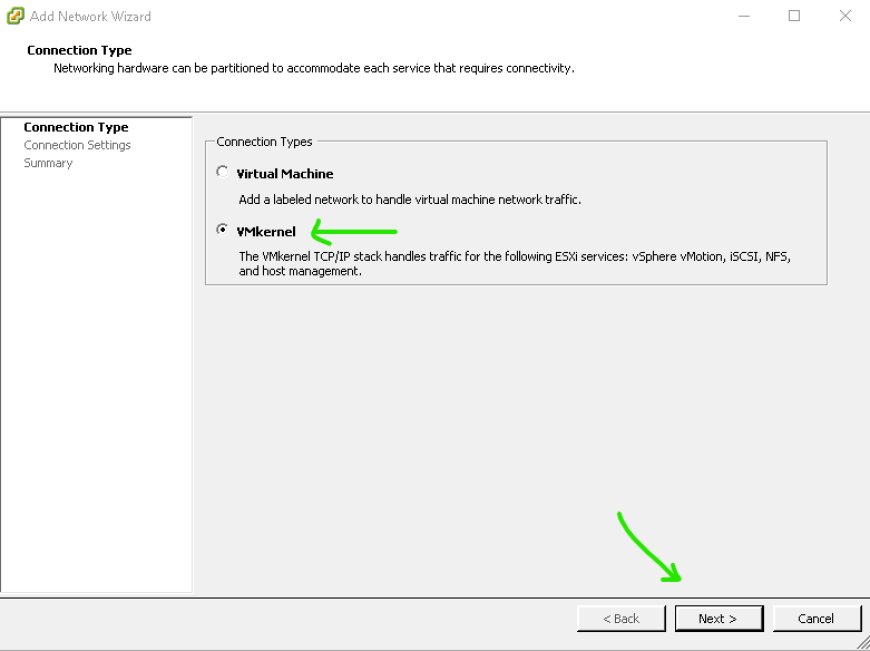
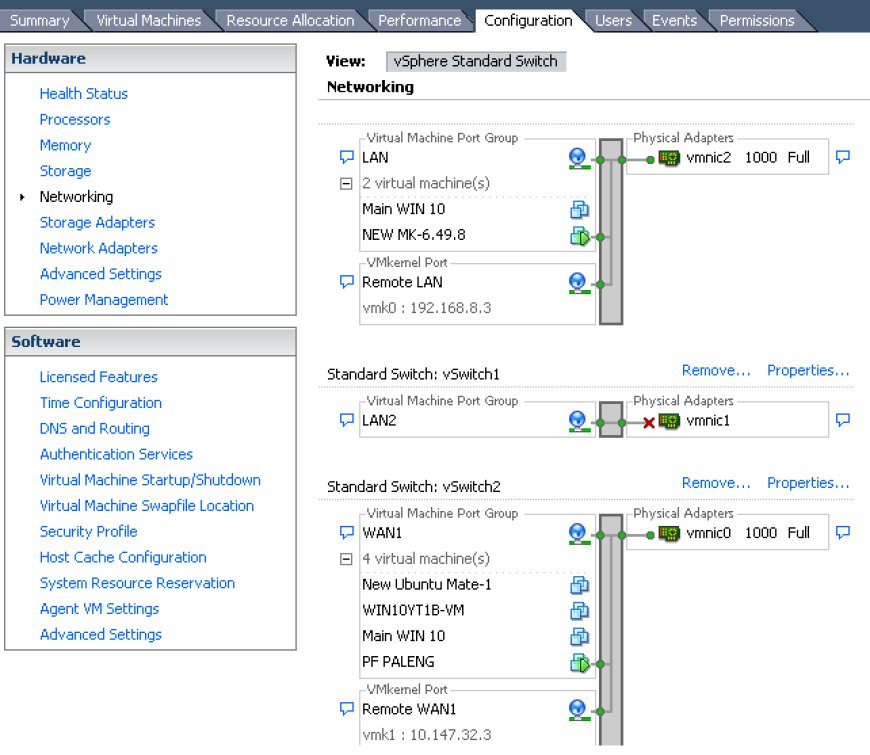
Setting Interfaces to Add Networking by connection type for LAN and WAN
setup for Multiple LAN CONNECTIONS
Rename your current LAN Connection

Add LAN2
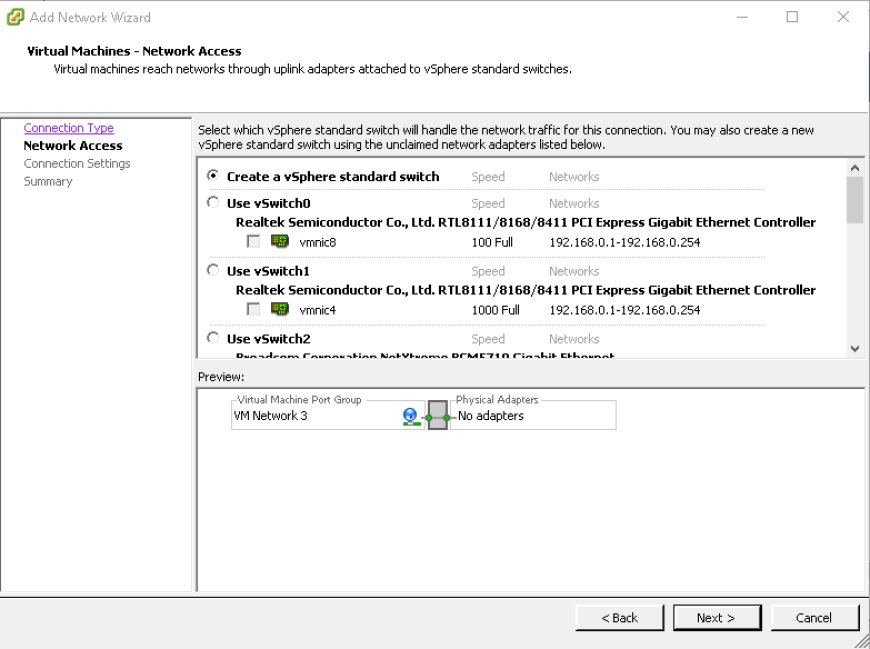
Setup for Multiple WAN CONNECTIONS do the same thing
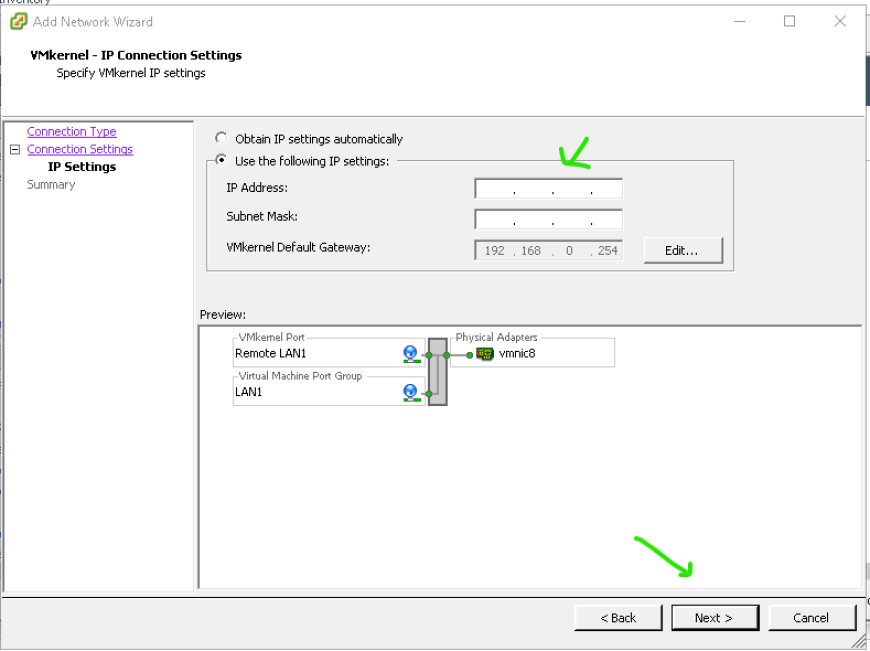
If you want to manage from selected interface by LAN or WAN, do as in the picture
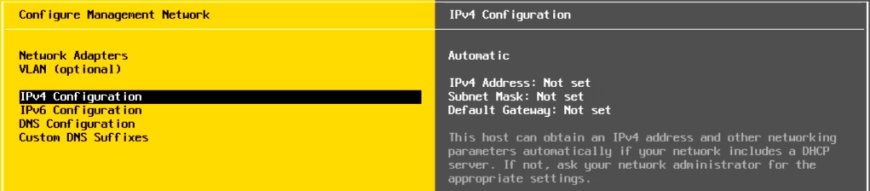
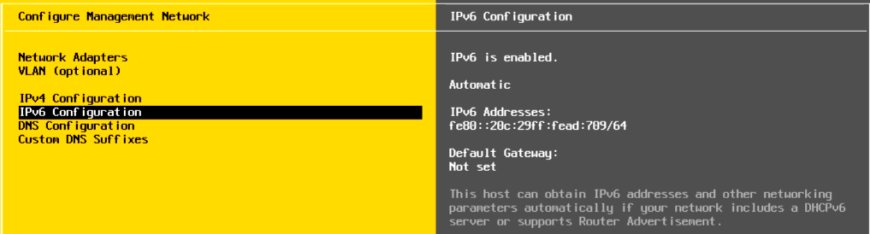
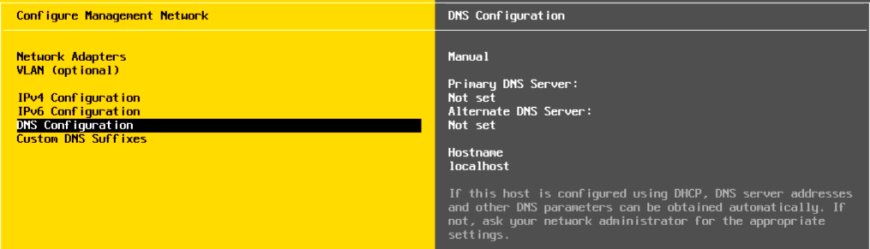
Setting IP Adress the same with your current conection
Suppose the final result is like this
FIX "Configuration Issues" for unsuppport Hyperthreading
Configuration->advance-UserVars
changing this value "UserVars.SuppressHyperthreadWarning = 1" / rebooted , no warnings.
5. OK FINISH
You can watch this lesson on YouTube to understand better. Don't forget to help our channel to develope further so that, there is nothing that can't be done except https://disiniaja.id.
What's Your Reaction?